Creating and Launching a Campaign
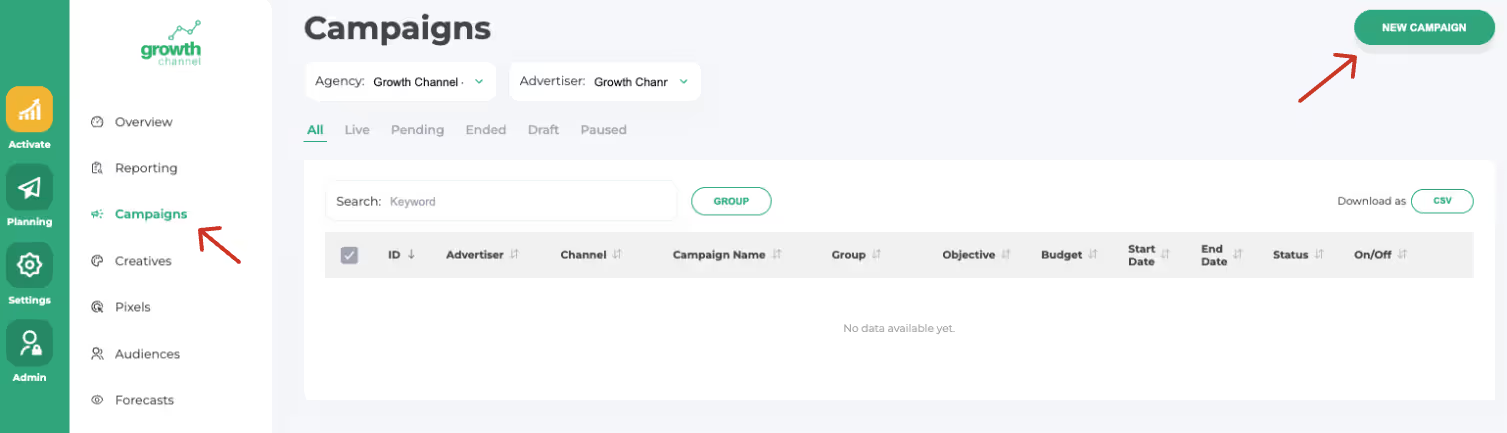
Step 1: Navigate to the Campaign Section
Select “New Campaign” to start
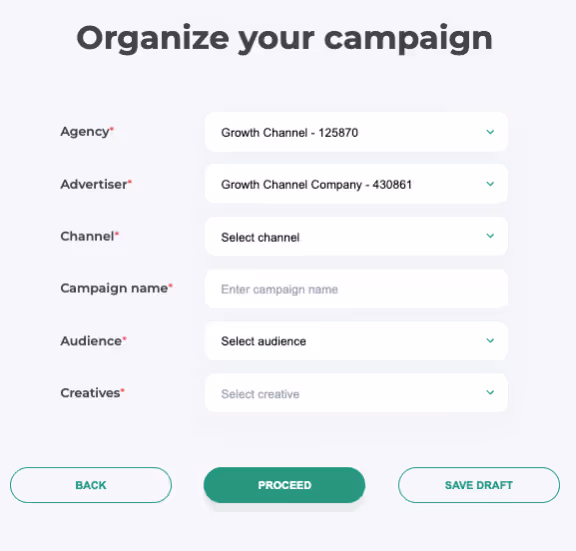
Step 2: Configure Your Campaign
- Select Channel
- Name your Campaign
- Best Practice: Advertiser - Effort - Channel
- Example: Growth Channel - Prospecting - Display
- Best Practice: Advertiser - Effort - Channel
- Select an Audience
- Select a Creative
Once all aspects of your campaign have been configured, click Proceed.
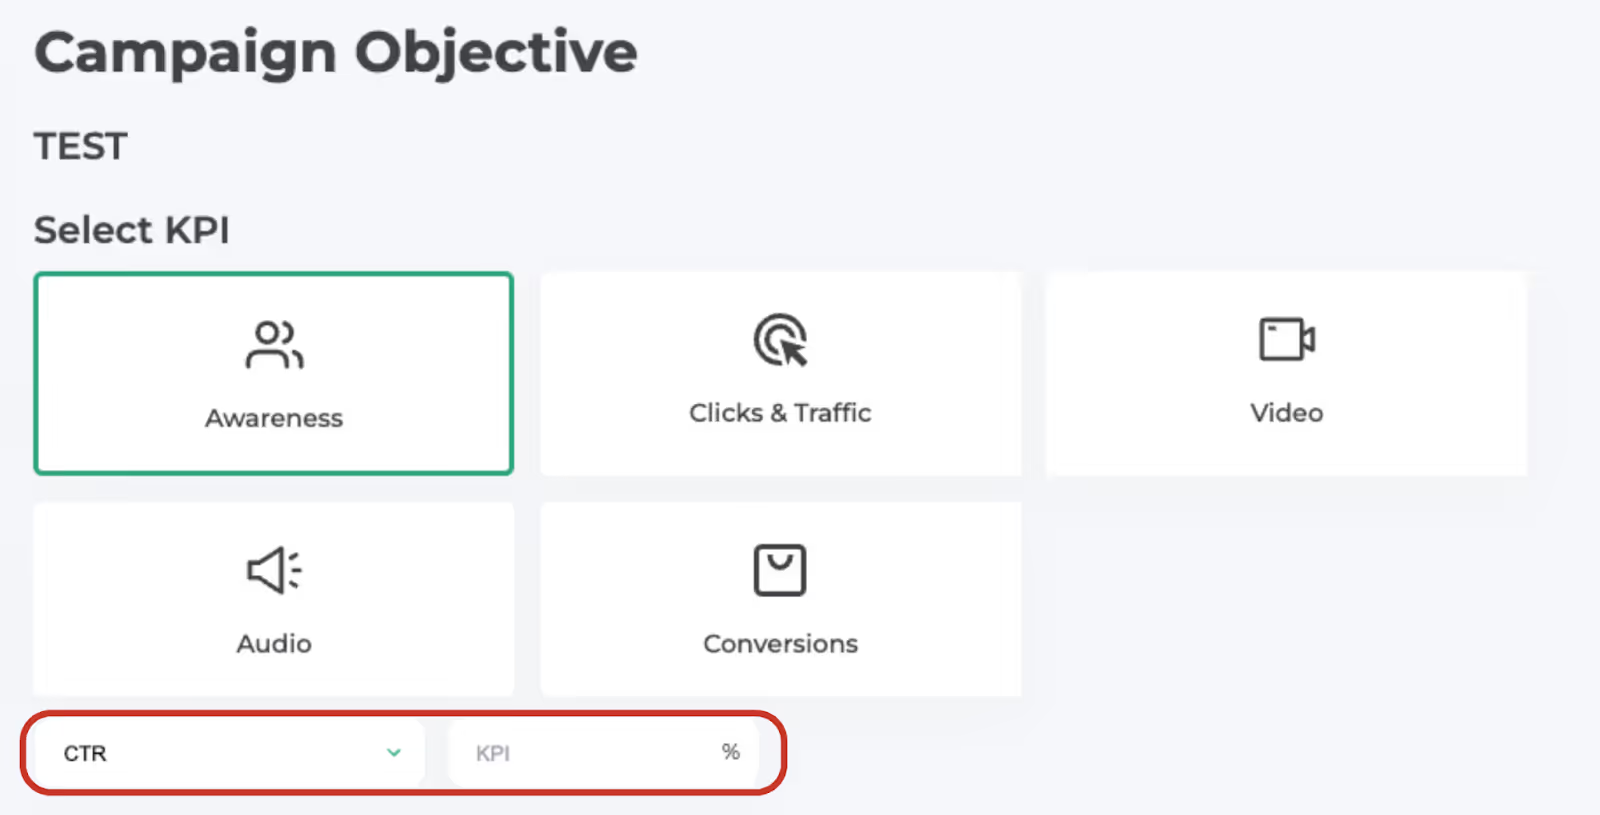
Step 3: Setting your Campaign Objective
Select the primary objective for your campaign. Pro Tip: Enter a KPI goal to help the platform optimize performance
Step 4: Set up Campaign Flight Dates, Budget and Pacing
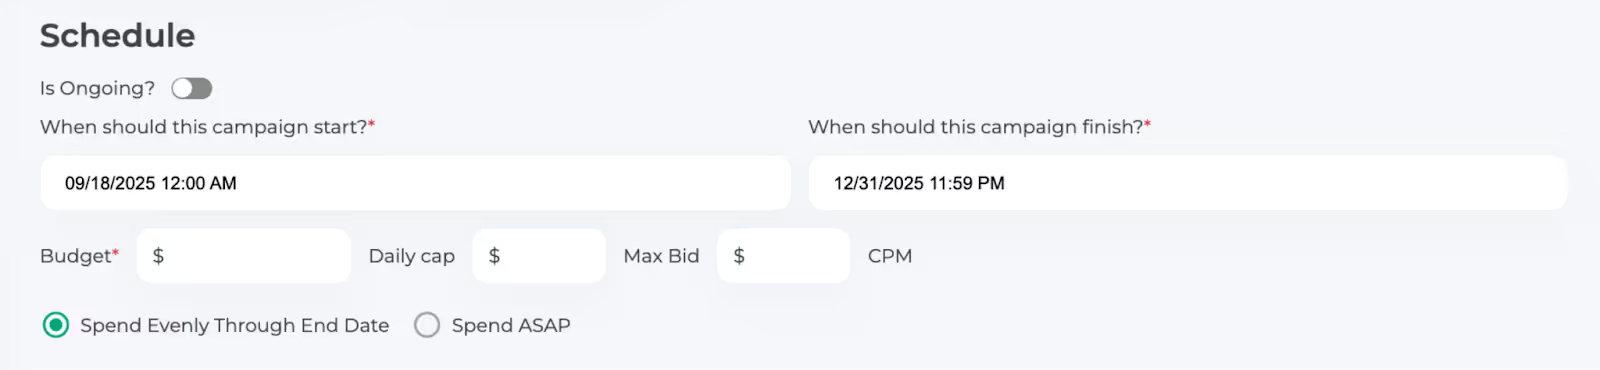
Flight Dates: Enter the start and end dates for your campaign.
Budget: Enter your total budget. You can also set a daily cap or maximum bid if desired.
Pacing: Choose one of two options:
- Spend Evenly: Distribute your budget evenly throughout the campaign flight.
- Spend ASAP: Use the budget as quickly as possible.
Step 5: Frequency Capping
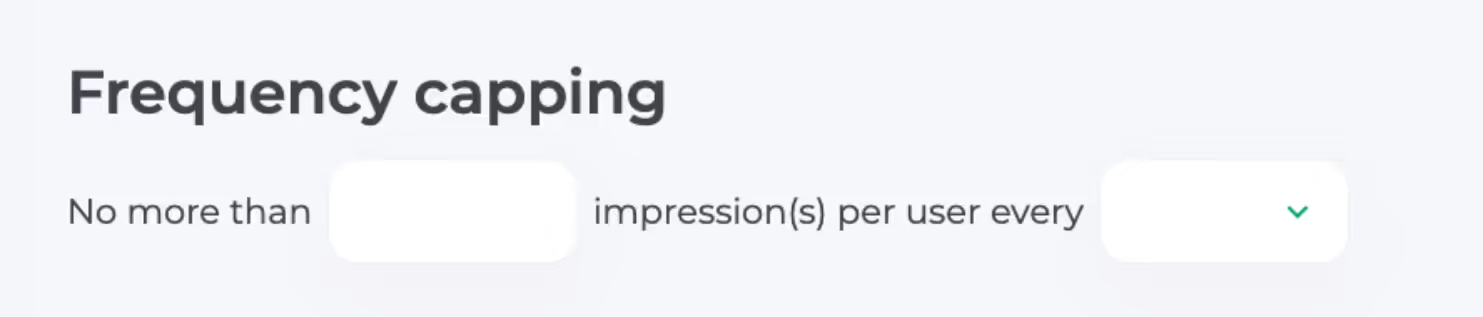
If you’d like to set a specific frequency cap you can do so here based on:
- Hour
- Day
- Week
- Month
Step 6: Conversion Tracking
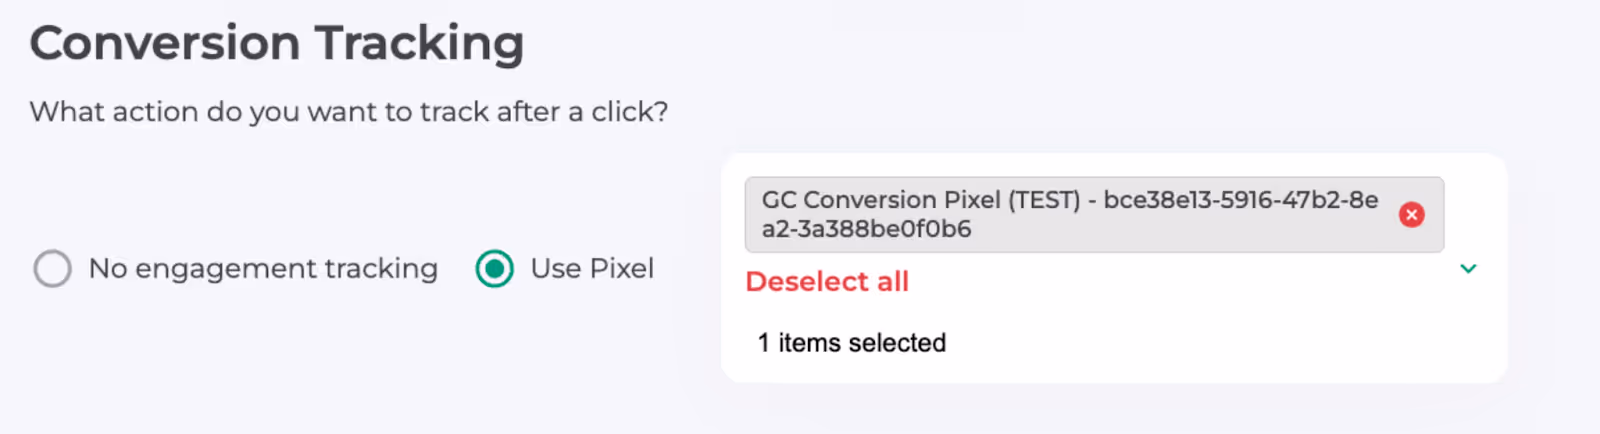
Here, you can select a pixel to track conversions (using the conversion pixel you created). If this campaign is strictly for awareness or you were unable to place a pixel, select “No engagement tracking.”
Step 7: Launch Your Campaign
If you haven’t added billing information yet, you’ll need to do so before launching. Once billing is entered, click Submit to launch your campaign.
Note: After launching, your campaign may show a Pending status for up to 48 hours while we obtain approval from our partners for the campaign and creatives. Once your campaign starts spending, the status will update to Live, and data will be available in reporting.
Get personalized guidance from our team to set up your campaigns for success.
Our support team is here to help. Reach out anytime for personalized assistance.